Welcome

My blog is currently under going construction. I'll be back soon as Katie Nesbitt Photography :) Til then, check my Facebook for updates and previews.

About Me

I'm inspired by the little details that make every day beautiful. My shooting style is vintage inspired, casual, and romantic. My aim is to tell your story through photography using unique angles, a laid back shooting style, and creative processing. I'm based out of Newport News, but I love to travel:)

Monday, December 27, 2010

Second Christmas

I bought some neat things on Ebay a few weeks back and they finally made it this morning amid a snowstorm! Opening them up was like having Christmas all over again!

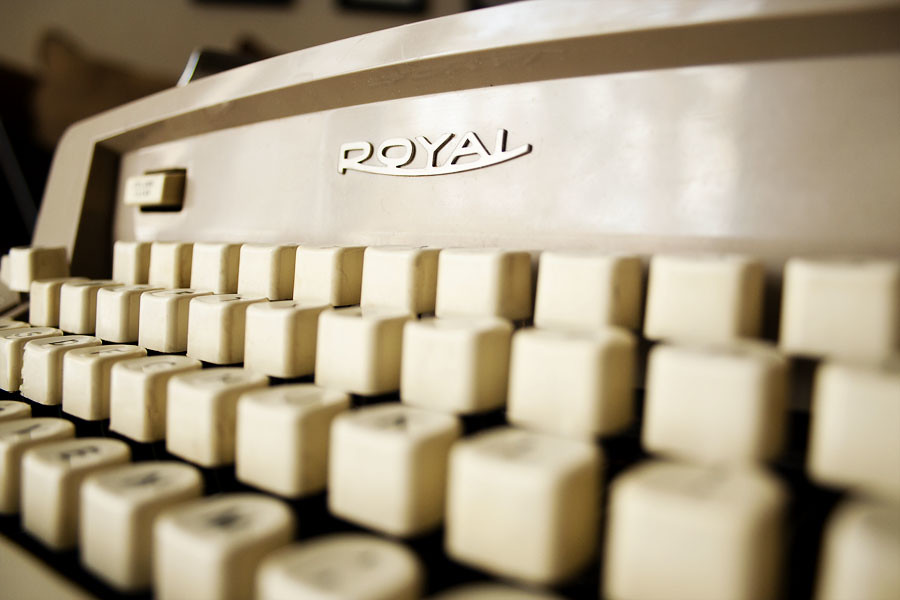
I ordered this vintage Royal typewriter to use in our wedding. I've had a love affair with typography and typewriters since I was in Elementary school and asked Santa for one so I could write an epic novel. This one isn't the same as the one I had years ago, but I love it anyway.
blog royal

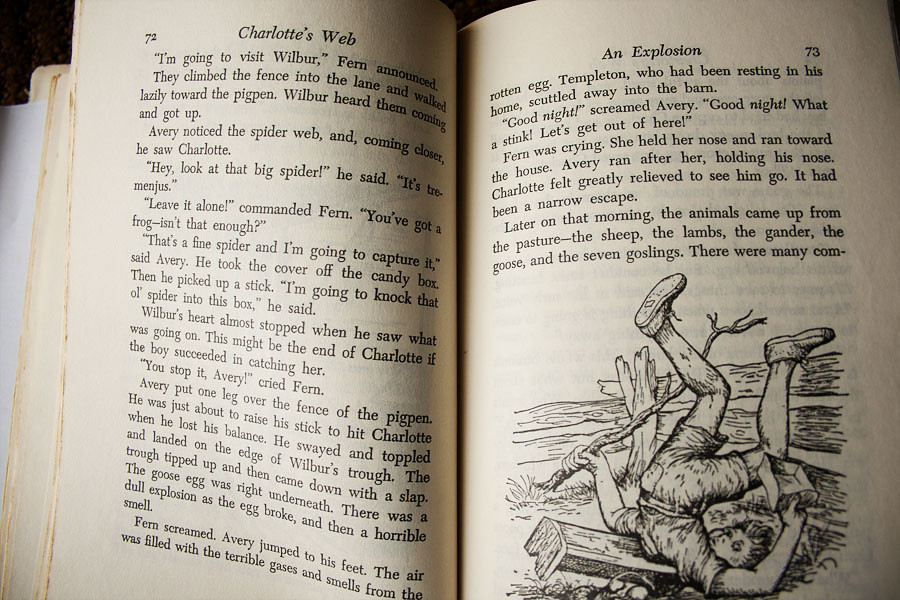
Speaking of Elementary school, one of my all time favorite books was Charlotte's Web. I still have my own copy from the second grade, but it's a tattered, worn paperback that hasn't held up too well to repeated readings. My new copy is a 1950's book club edition with the original dust jacket. I love how it smells! Reminds me of all the time spent in the library growing up.

blog book

Saturday, December 18, 2010

Christmas Themed Shoot - Mel's Family

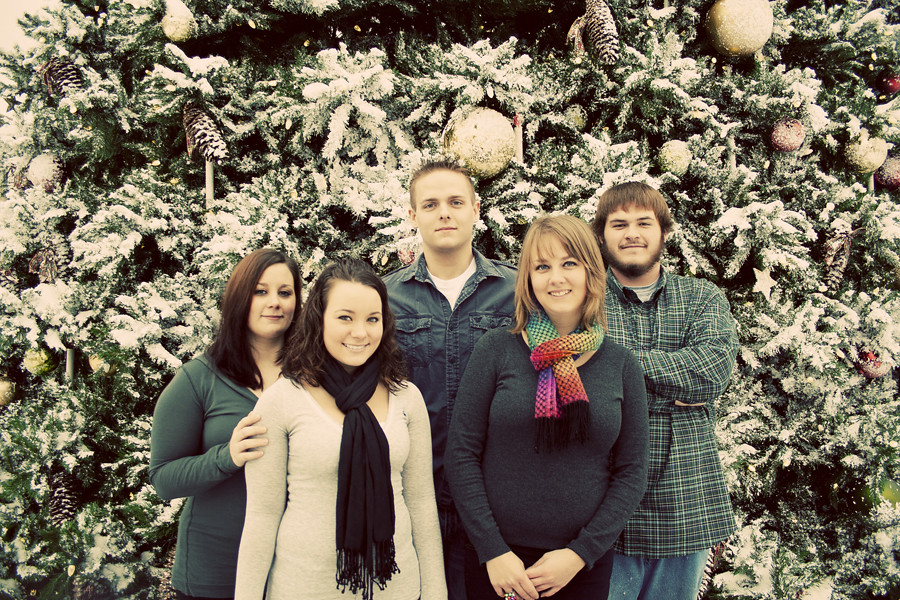
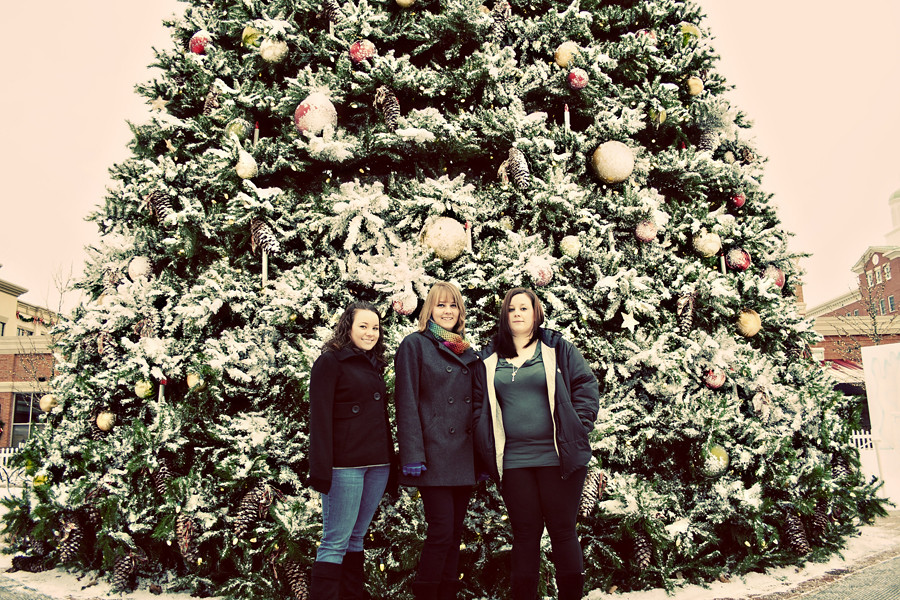
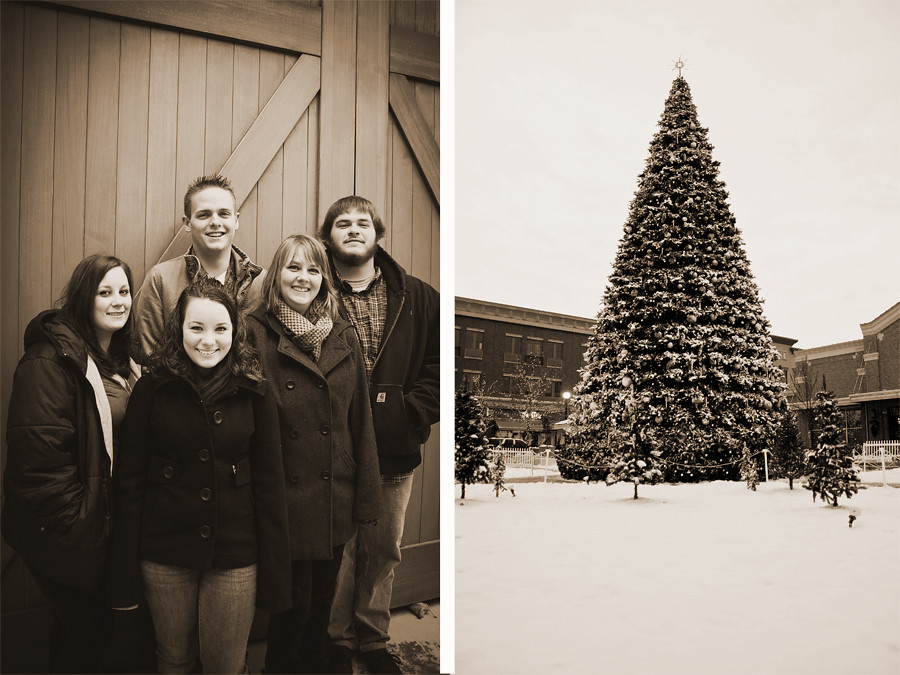
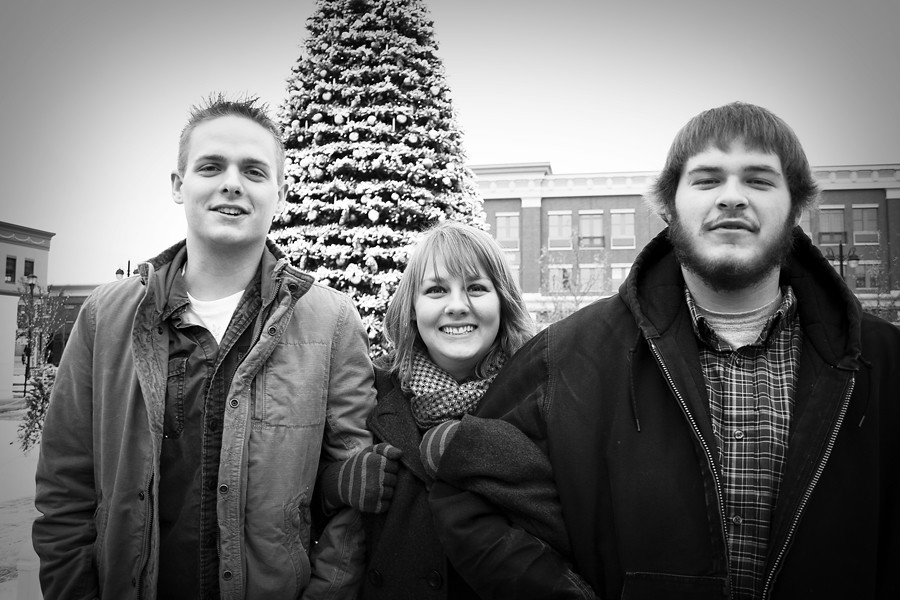
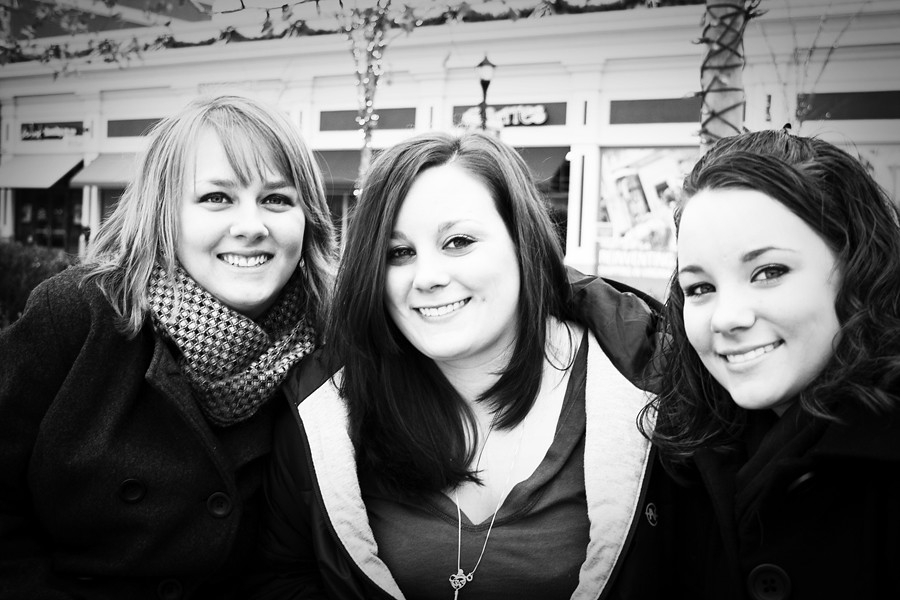
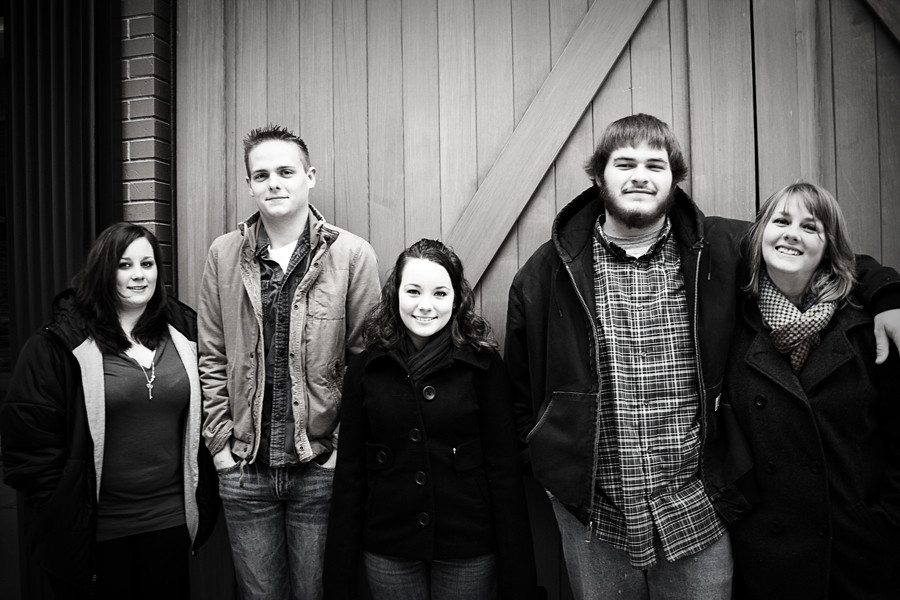
I met my friend Mel and her brothers and sisters for a quick shoot at Peninsula Town Center. Even though the below freezing temperatures had us all shivering, they were patient and good natured as I got a few photos of them. These are some of my favorites :)
Melody_4

Melody_2

melody_8

Melody_5

Melody_3

Teaser - Mel's Family

More to come :)
Melody_6

Tuesday, December 14, 2010

Suddenly Winter

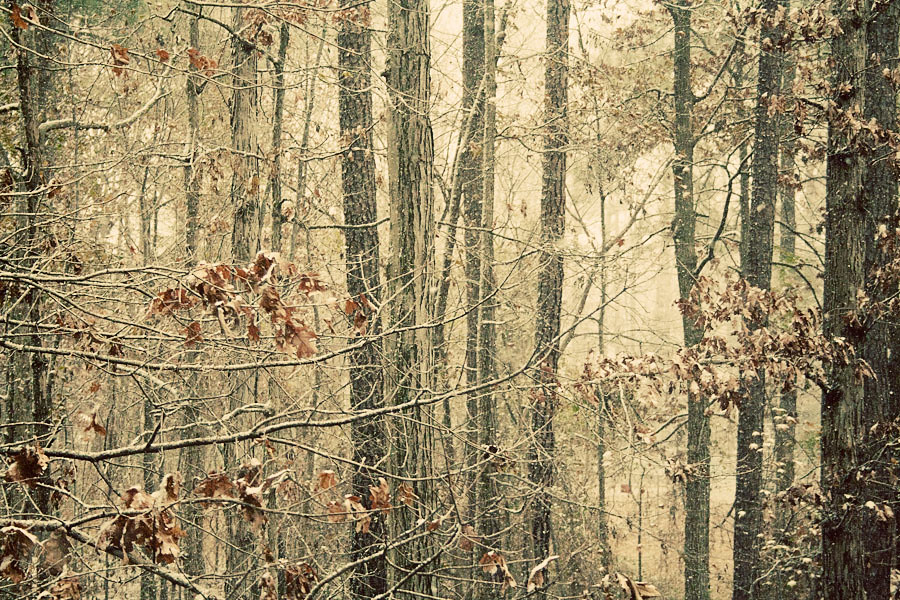
Lately we've been experiencing some EXTREMELY cold temperatures. Typically our December temeratures are within the 50's, whereas the last couple of weeks, highs have been in the 30's almost every day. Yesterday was actually the first snow of the winter season! It lasted a couple of hours, but didn't stick around for very long afterwards.

Still, it was beautiful while it lasted!

Snowday

Sunday, December 12, 2010

A Couple Projects

It rained almost all weekend, so I tried to make the most of the time indoors by working on a few of the many projects on my to do list. So far I'm about halfway through, but it seems like for every one project I complete, a couple more get added to the list.

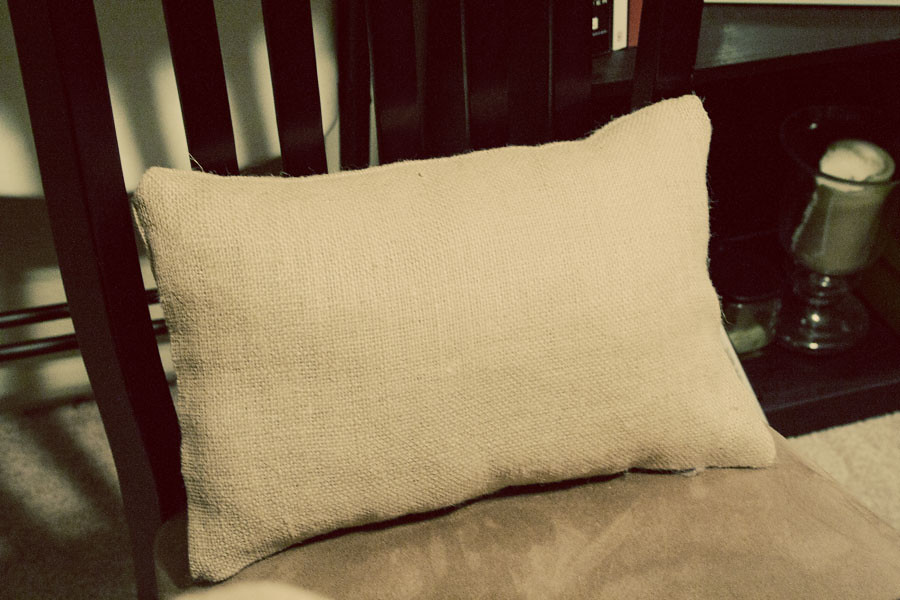
After ending up with quite a bit of leftover burlap from a bunch of runners I made for the wedding, I decided to make a couple of pillows for a bench we need to decorate in our reception space. I had a really hard time finding a no-sew pillow tutorial online! I found several tutorials for no-sew pillow covers but not for the pillows themselves. I eventually figured out my own way to do it, so here's my tutorial for anyone who's interested in saving money on a few throw pillows or even just making your own pillows in custom prints. (PS I don't advocate or recommend ironing on your dining room table...I'm just too lazy to pull out my ironing board:p)

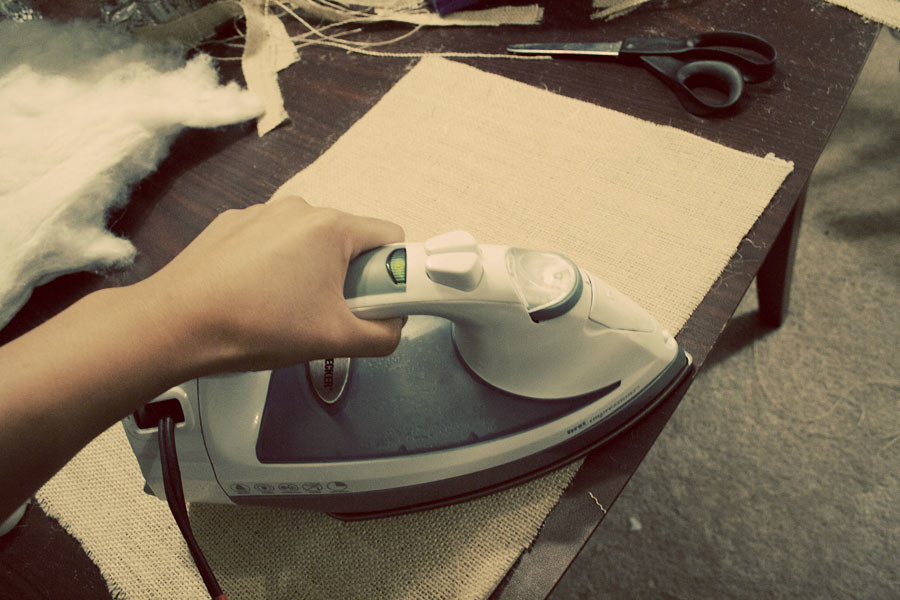
First, cut out your fabric and iron it out.
Pillow1

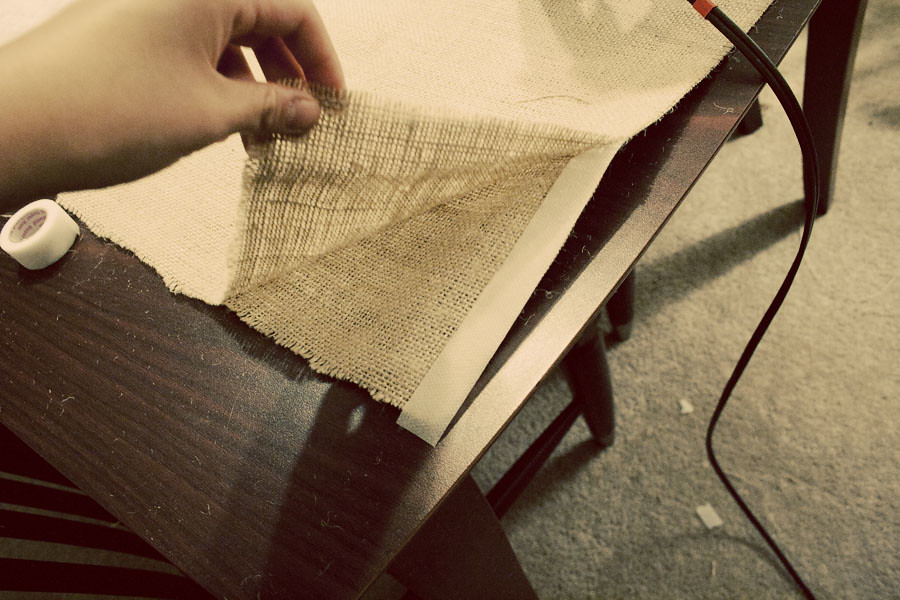
Then cut a piece of hem tape (I used Heat Bond) and add it in between the two pieces of fabric. If you're using something like burlap, it doesn't matter what sides face out. If you're using a regular fabric, make sure the "right sides" (the sides where the pattern is) face the inside of the fabric sandwich. Follow the manufacturers instructions for ironing times and temperatures.
pillow2

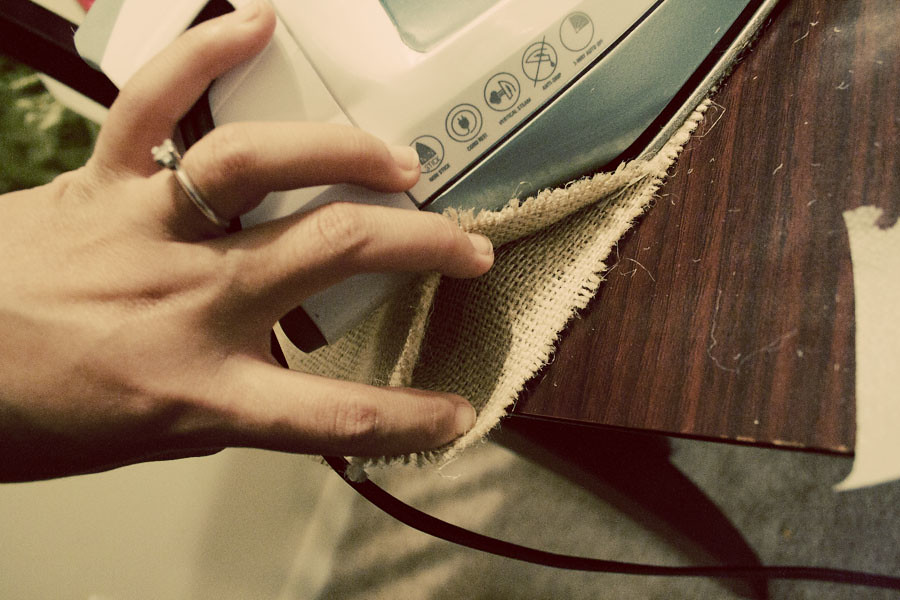
Use the hem tape to seal the fabric together on all three sides. On the fourth side, leave a small gap (make it large enough you can stick your wrist and a fist full of stuffing through it).

pillow6

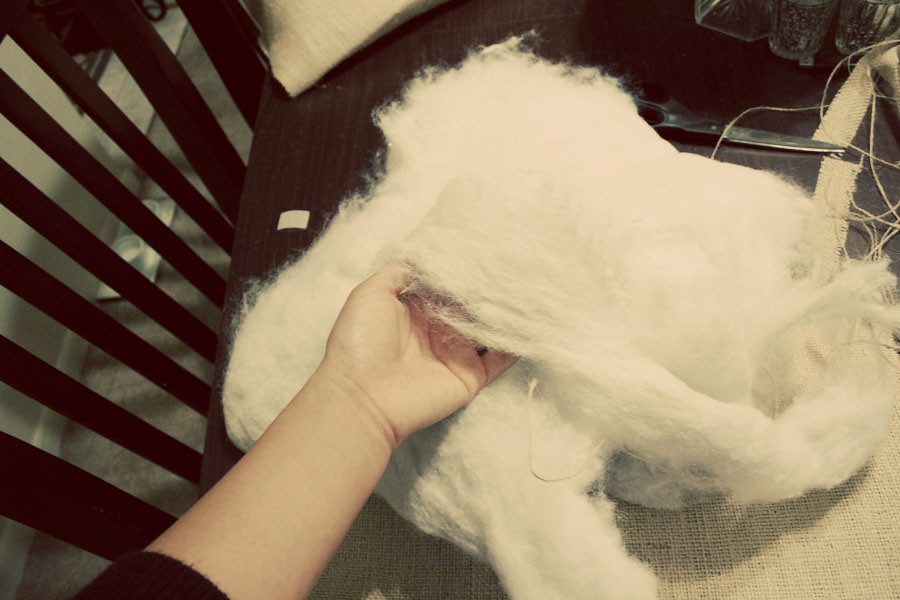
Turn the fabric inside out (so the "right side" is facing out if you're using a regular printed fabric), and stuff your pillow with whatever stuffing you want to use. I actually had a few old flat pillows I had meant to trash that I cut open and took out the stuffing.

pillow5

When you're done stuffing your pillow, use a little bit of hem tape to "sew" the last open bit of the pillow shut. Let the glue cool down before you fluff your pillow.

pillow7

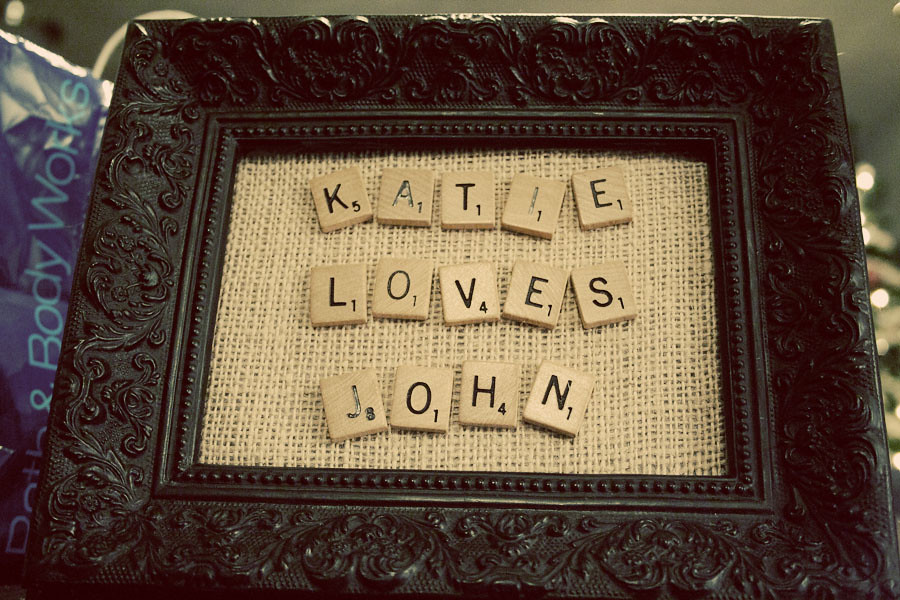
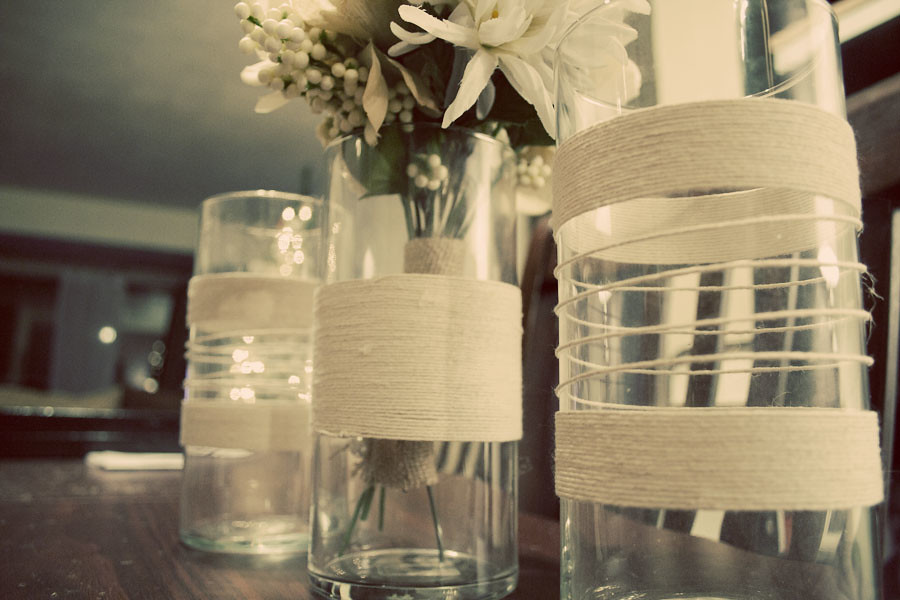
Lastly, here are a couple of my other projects:
Project1

_MG_2078

Saturday, December 11, 2010

Amy and Avery

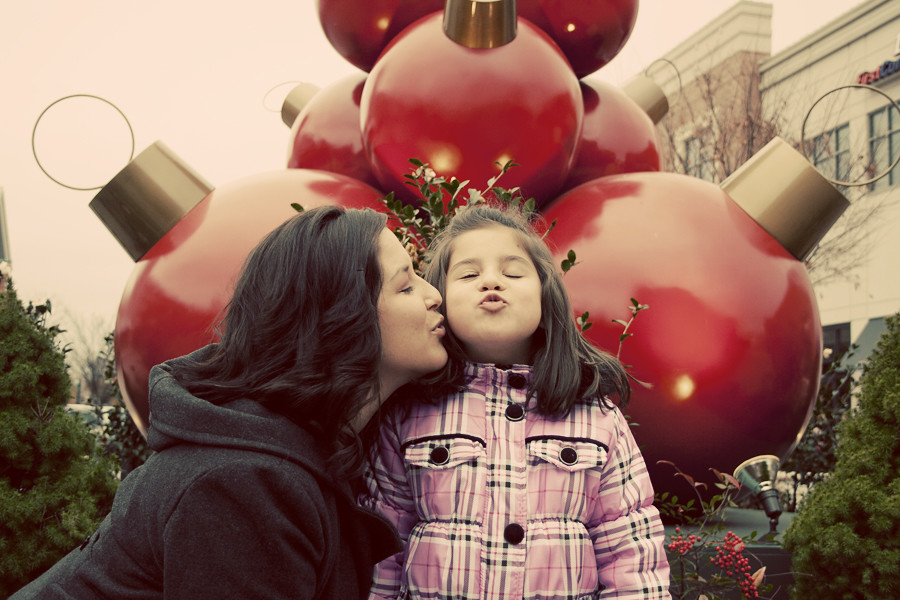
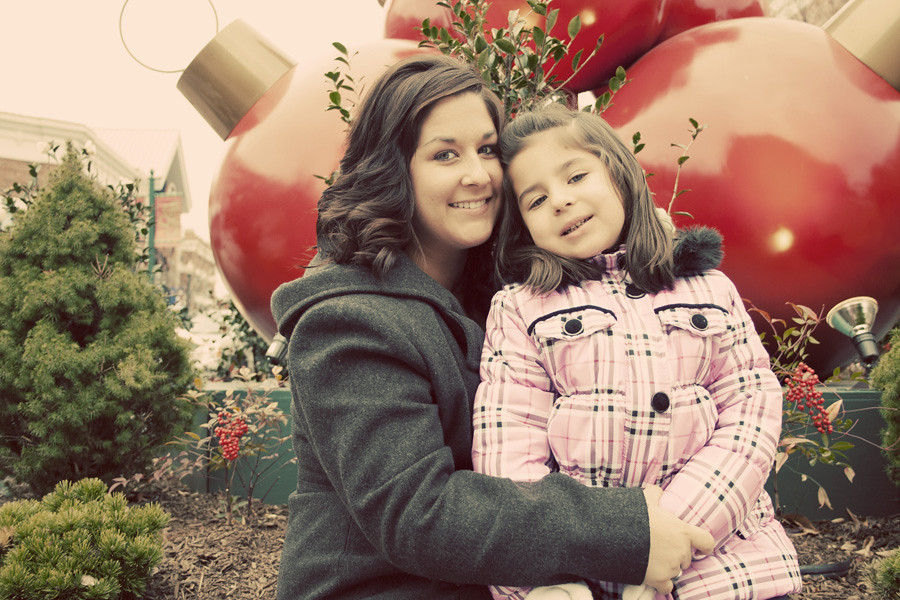
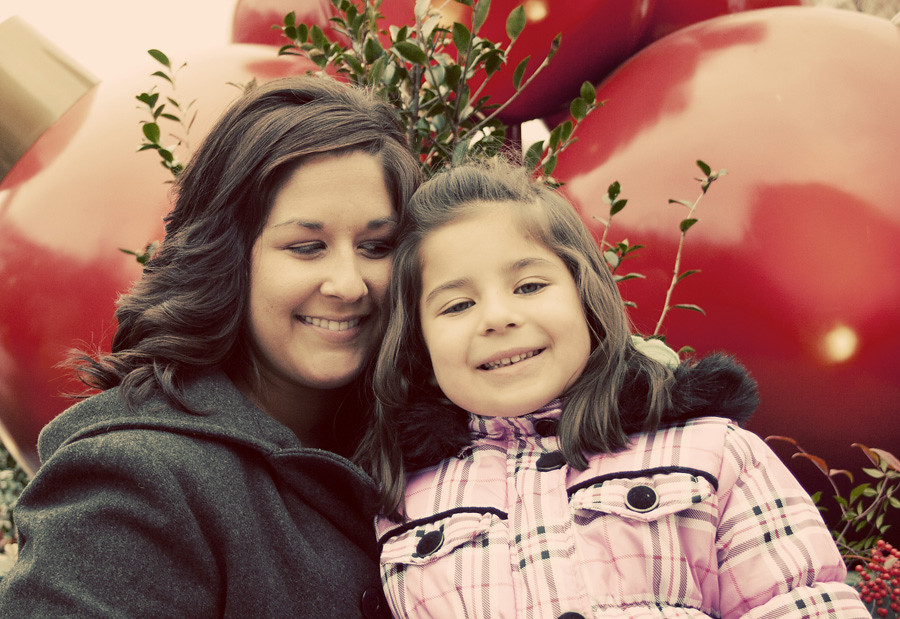
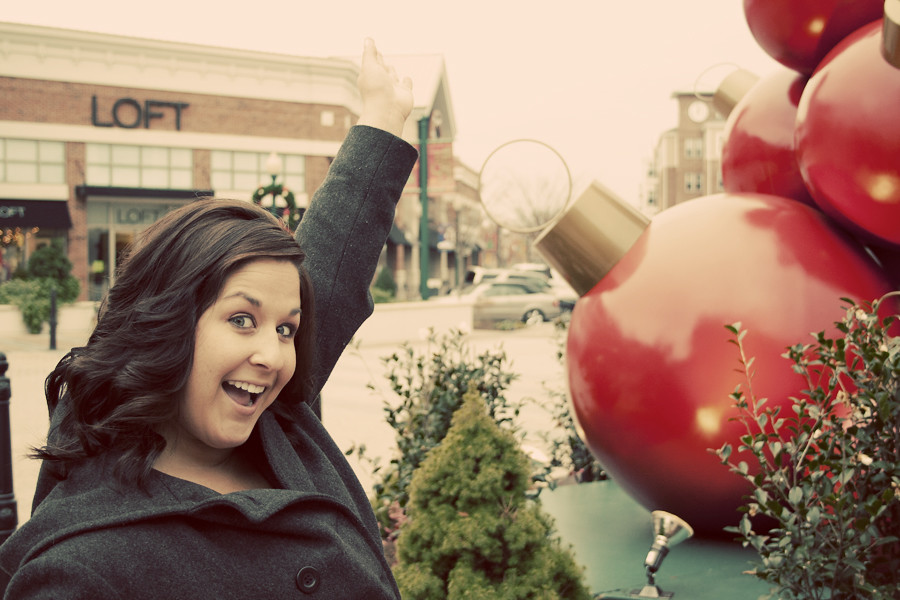
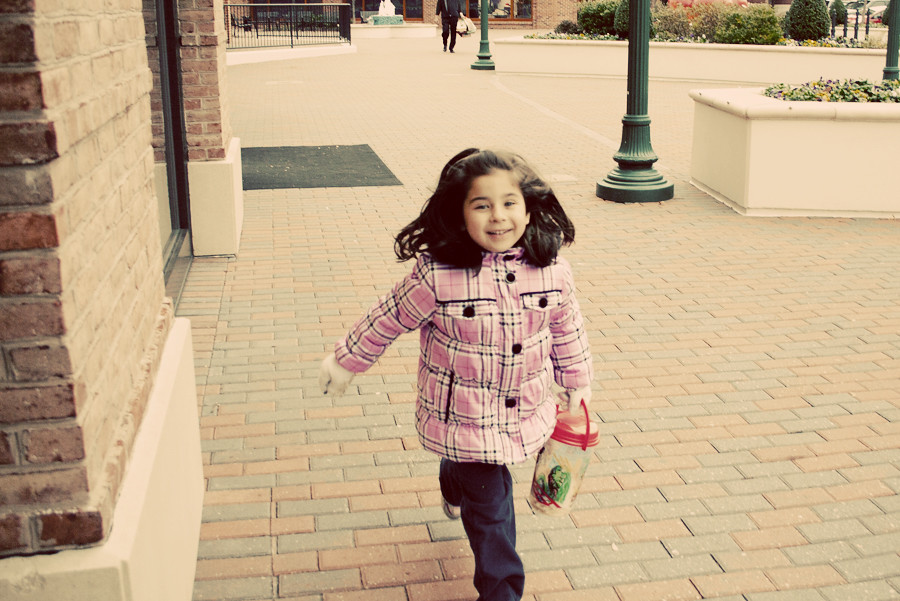
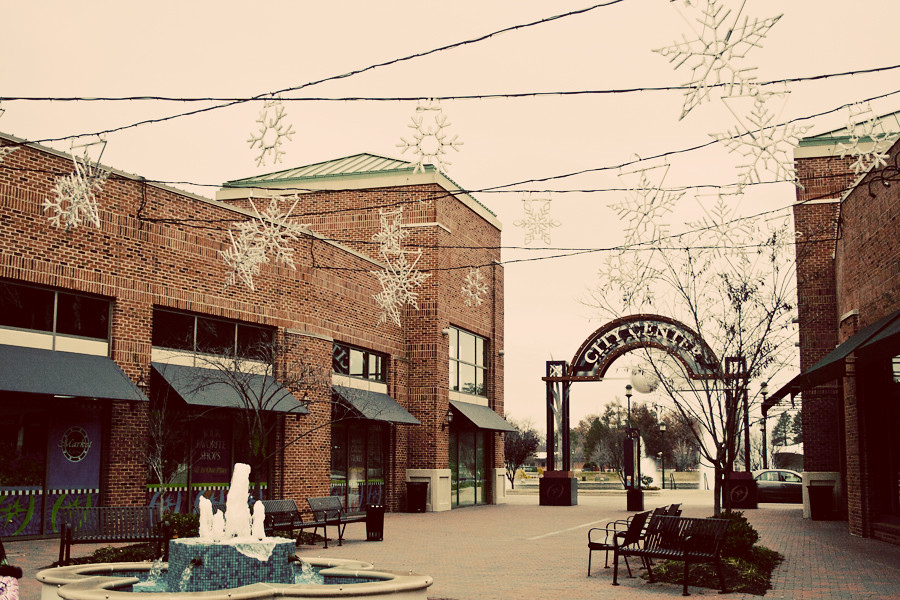
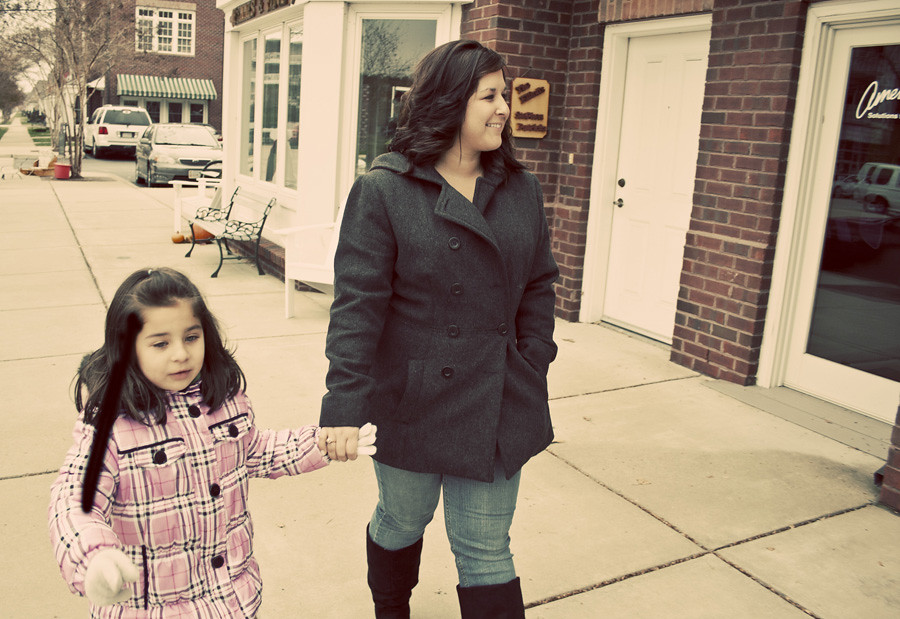
Earlier today I went out to City Center here in Newport News with my best friend Amy and her daughter Avery (my bridesmaid and flowergirl!!) to take a few photos of them. They were good sports and braved the cold for me. Here are some of my favorites!

Amy_blog4

amy_blog9

amy_blog8

Amy_blog7

Amy_blog6

Amy_blog3

Amy_blog1

Amy_blog2

amy_blog11

Amy_blog10

Monday, December 6, 2010

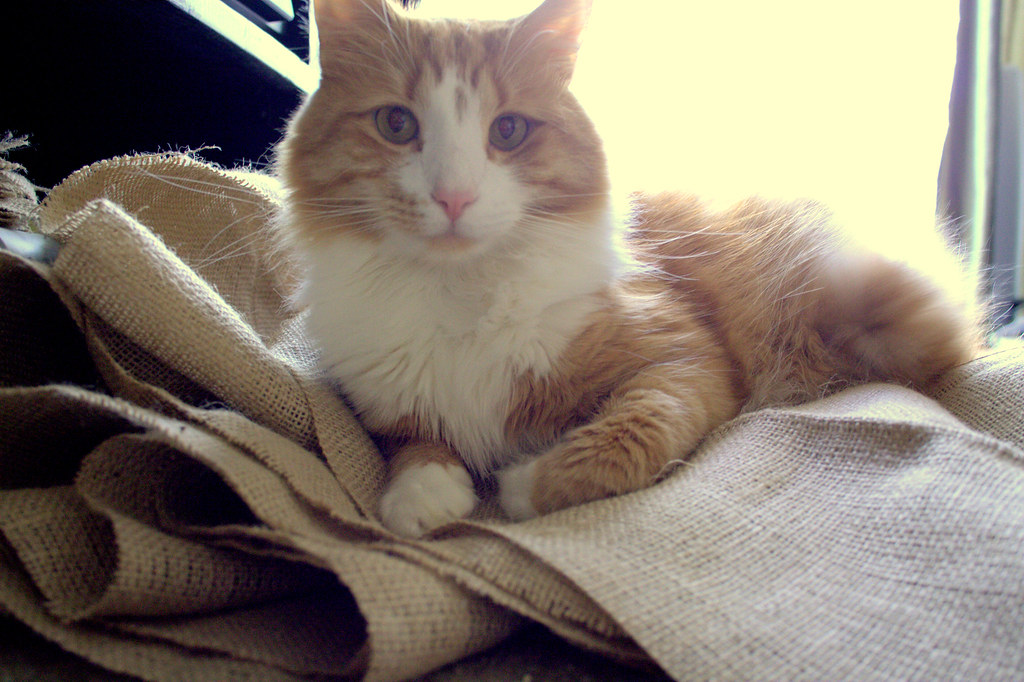
Lucy

Lucy decided she'd help me out today as I worked on some projects. Unfortunately, her idea of helping me wasn't the same as my idea of getting help...

_MG_1848.CR2