
It rained almost all weekend, so I tried to make the most of the time indoors by working on a few of the many projects on my to do list. So far I'm about halfway through, but it seems like for every one project I complete, a couple more get added to the list.
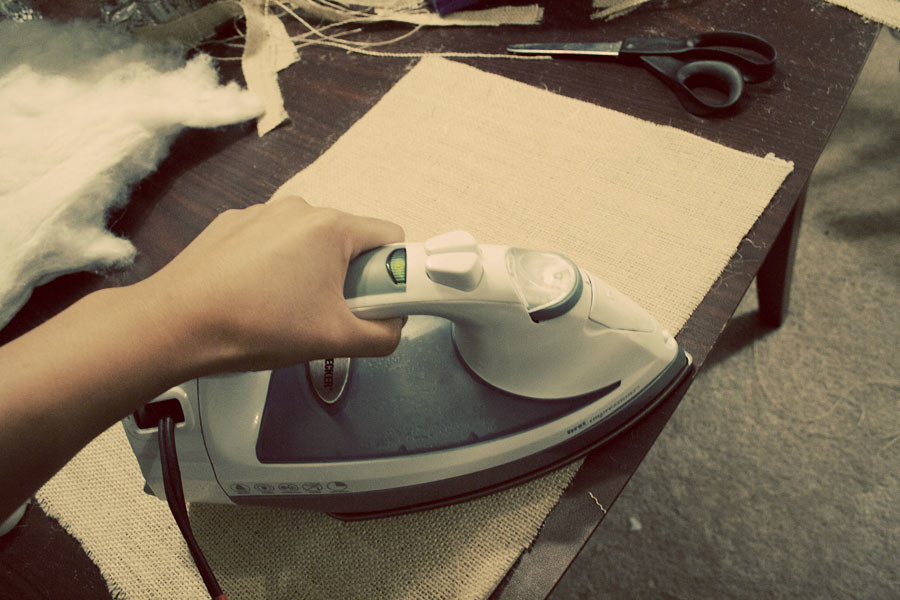
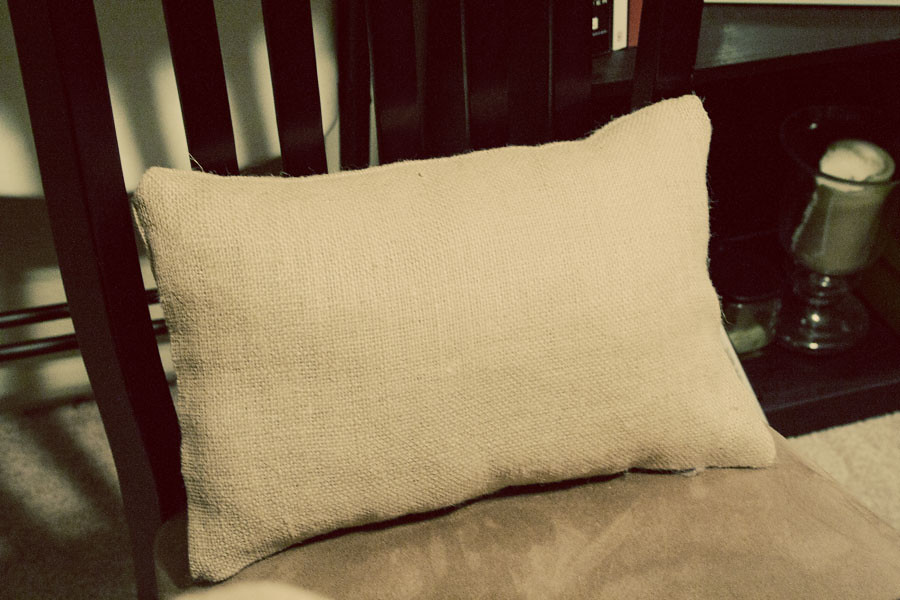
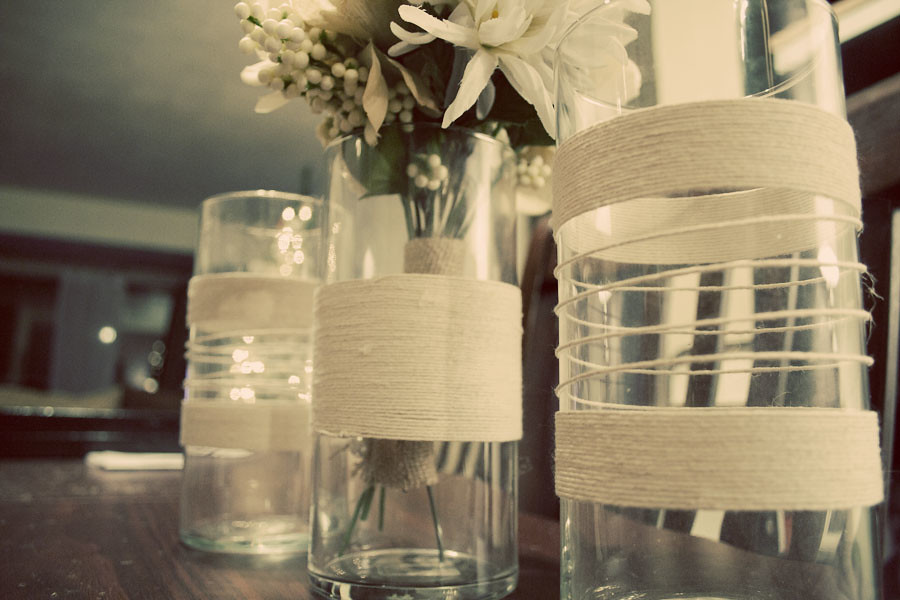
After ending up with quite a bit of leftover burlap from a bunch of runners I made for the wedding, I decided to make a couple of pillows for a bench we need to decorate in our reception space. I had a really hard time finding a no-sew pillow tutorial online! I found several tutorials for no-sew pillow covers but not for the pillows themselves. I eventually figured out my own way to do it, so here's my tutorial for anyone who's interested in saving money on a few throw pillows or even just making your own pillows in custom prints. (PS I don't advocate or recommend ironing on your dining room table...I'm just too lazy to pull out my ironing board:p)
First, cut out your fabric and iron it out.
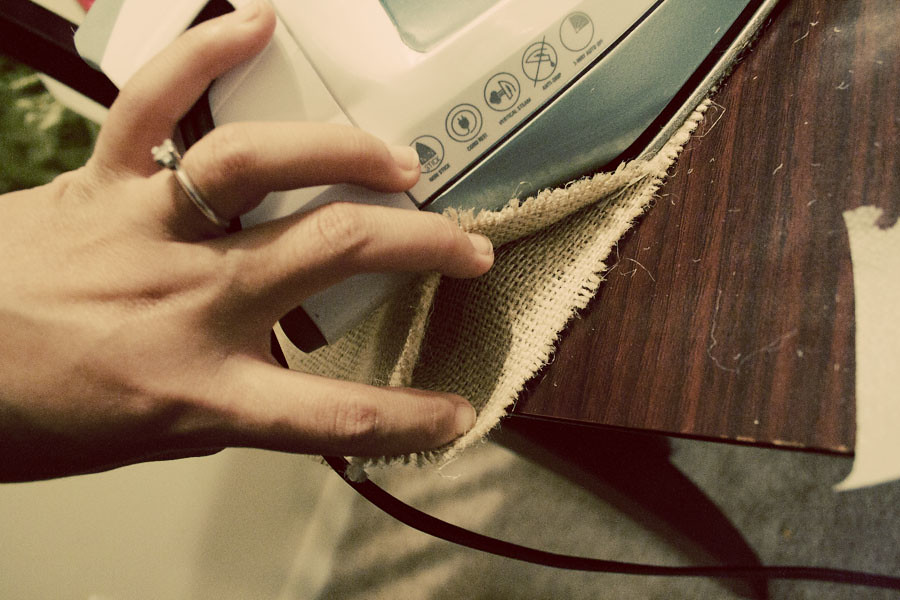
Then cut a piece of hem tape (I used Heat Bond) and add it in between the two pieces of fabric. If you're using something like burlap, it doesn't matter what sides face out. If you're using a regular fabric, make sure the "right sides" (the sides where the pattern is) face the inside of the fabric sandwich. Follow the manufacturers instructions for ironing times and temperatures.

Use the hem tape to seal the fabric together on all three sides. On the fourth side, leave a small gap (make it large enough you can stick your wrist and a fist full of stuffing through it).
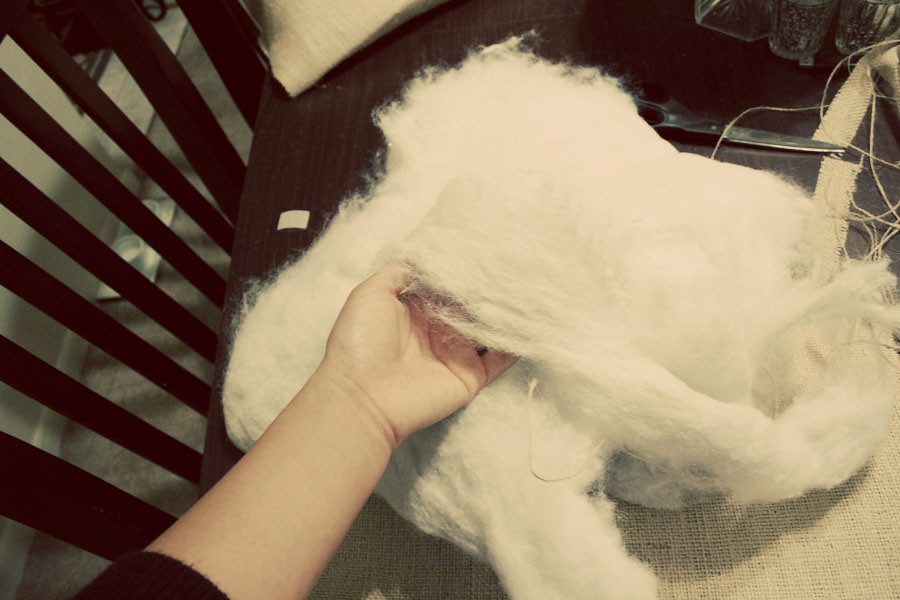
Turn the fabric inside out (so the "right side" is facing out if you're using a regular printed fabric), and stuff your pillow with whatever stuffing you want to use. I actually had a few old flat pillows I had meant to trash that I cut open and took out the stuffing.
3 comments:
just found your blog, it's adorable! feel free to stop by mine and say hello :)
she said yes!
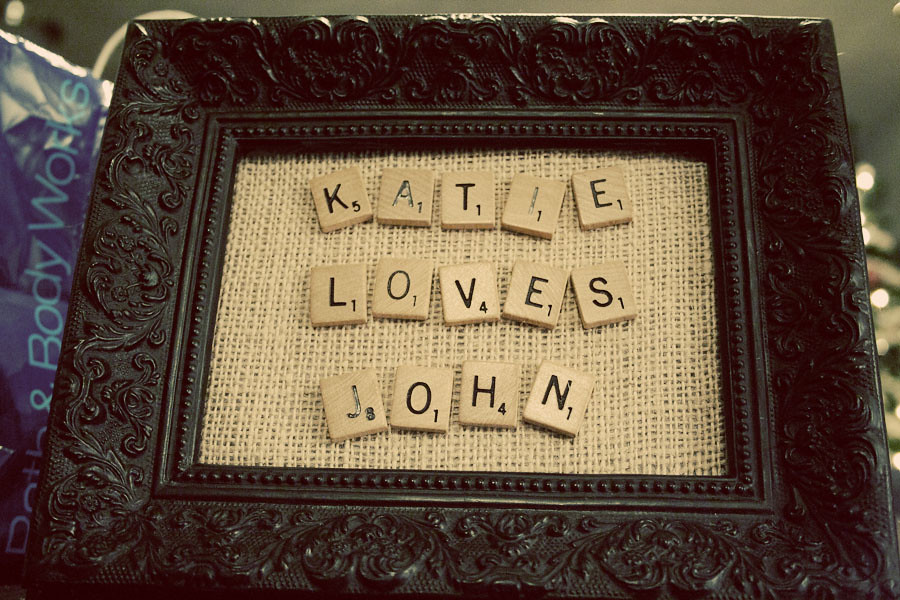
Love the projects... I am so obsessed with burlap right now and have a lot of fabric glue around. I love the picture frame...where'd you get the tiles??
Hey Miss JD! I got the tiles off of ebay. It was about 7 dollars for 100. I may order more for my favors :)
Post a Comment
I love comments! Feel free to leave one :)